Shading and Depth: Advanced Techniques for Stunning Artwork
Master the Art of Shading for Realistic Coloring
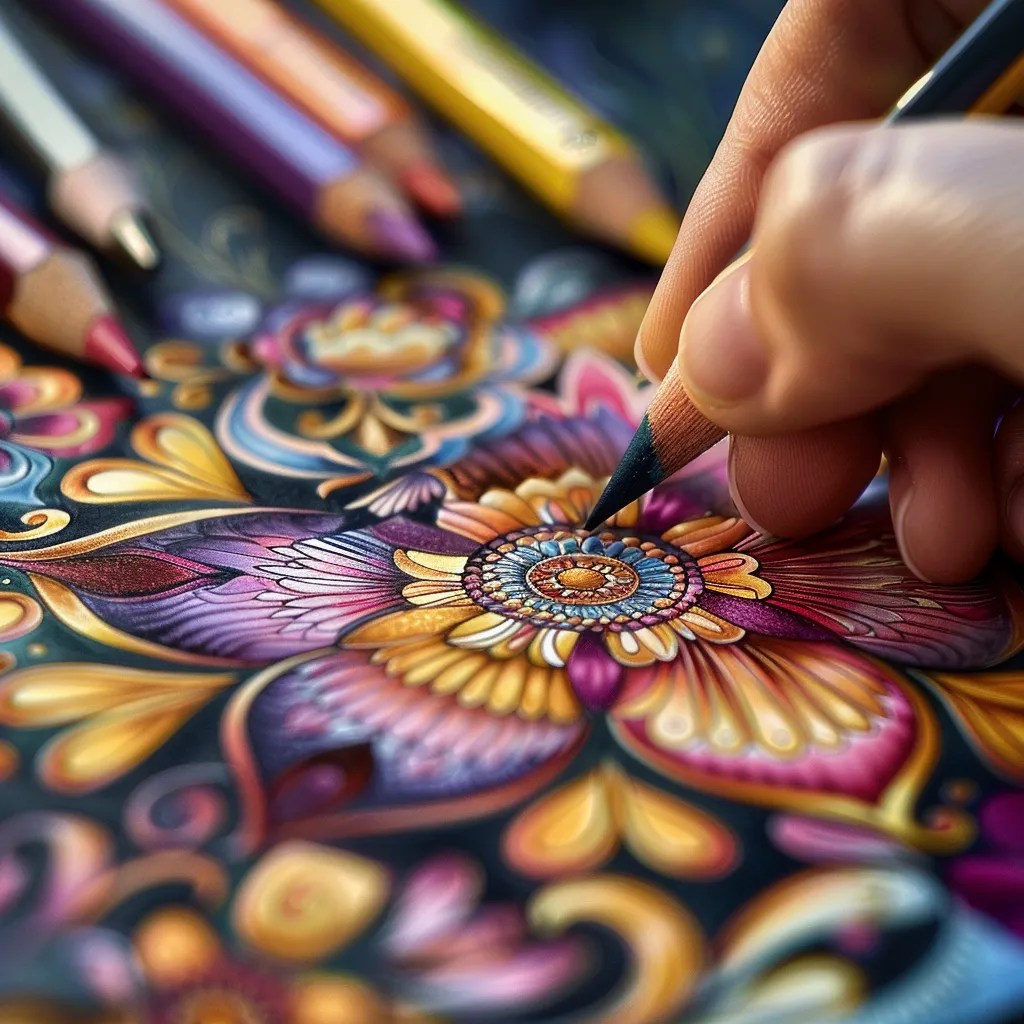
Adding shading and depth to your coloring pages can transform flat illustrations into stunning, lifelike artwork. Whether you’re using colored pencils, markers, or gel pens, mastering shading techniques will bring dimension, realism, and visual appeal to your pages. In this guide, we’ll explore expert shading methods and practical tips to help you take your coloring to the next level!
Why Shading Matters
Shading adds:
✅ Depth & Dimension – Creates a sense of realism by making objects appear three-dimensional.
✅ Light & Shadow Contrast – Enhances highlights and shadows for a more dynamic look.
✅ Texture & Detail – Helps bring intricate designs, fabrics, and natural elements to life.
✅ A Professional Touch – Elevates coloring pages beyond flat, one-tone fills.
Essential Tools for Shading
Before diving into techniques, ensure you have the right supplies:
- Soft-Core Colored Pencils – Brands like Prismacolor or Faber-Castell blend smoothly for shading.
- Blending Tools – Blending stumps, cotton swabs, or tissues help soften transitions.
- Eraser & White Pencil – Useful for lifting color and creating highlights.
- Alcohol Markers – Great for seamless color transitions with smooth blending.
- Gel Pens or Fine Liners – Add depth with bold contrast and details.
🔧 Want our top picks for each of these tools? We’ve curated a Recommended Tools list filled with artist-approved colored pencils, gel pens, and markers perfect for advanced shading.
Advanced Shading Techniques
1. Layering for Smooth Blends
Instead of pressing hard with one color, build up tones gradually by layering light to dark shades. Apply multiple layers using gentle, circular motions for a soft, even transition. Pro Tip: Use a colorless blender pencil or tissue to smooth out grainy textures.
2. Gradient Shading (Light to Dark Transition)
Gradients create a realistic fading effect from one color to another. Start with the lightest shade, then gradually apply darker tones, overlapping each layer slightly. Best for: Coloring backgrounds, skies, and large shapes that need a natural fade.
🌈 Alcohol-based markers like the Shuttle Art 120-Color Gel Pens or the Ohuhu 60-Color Marker Set work beautifully for smooth, even blends and vibrant gradients.
3. Cross-Hatching & Stippling (Textured Shading)
For a hand-drawn artistic effect, use cross-hatching (intersecting lines) or stippling (tiny dots) to create shadows and texture. Best for: Fur, fabrics, and textured surfaces like wood or stone.
4. Pressure Control for Soft & Hard Shadows
Applying different levels of pressure while shading creates realistic variations in tone. Light pressure for subtle shading, firm pressure for bold shadows. Best for: Skin tones, clothing, and smooth gradients.
5. Using a White Pencil or Eraser for Highlights
Create natural highlights by gently erasing certain areas or layering white over colors. This technique adds contrast and makes objects appear glossy. Best for: Water reflections, glass, and metallic surfaces.
Practice Shading with These Coloring Ideas
- Experiment with Light Sources – Try shading from different angles to create realistic lighting effects.
- Add Shadows Under Objects – This makes illustrations appear as if they’re floating off the page.
- Mix Colors Creatively – Use unexpected color blends (e.g., purple & blue for shadows) to create depth.
🎯 Take Your Shading to the Next Level
Upgrade your coloring toolkit with pro-level pencils, pens, and markers that make blending and depth easier than ever.
✏️ See Recommended ToolsBring Your Coloring to Life!
Shading techniques will transform your artwork and make coloring an even more enjoyable and rewarding experience. Ready to practice?
